Installing in ceiling speakers is an exquisite way to beautify your house audio system. Whether you’re aiming for a Swiss home theatre setup or need to revel in immersive historical past sound, in-ceiling audio structures offer a discreet and efficient audio solution. If you’re thinking about installing 10 in-ceiling speakers for a sturdy sound gadget, this guide will walk you through the approach grade by grade.
Benefits of In-Ceiling Speakers
Before diving into the setup method, let’s briefly touch on why in-ceiling audio systems are a terrific choice:
- Space-saving: Unlike conventional ground-status speakers, in-ceiling speakers don’t soak up floor or shelf area.
- Aesthetic appeal: Their discreet layout blends seamlessly along with your ceiling, keeping your room’s decor.
- Wide sound insurance: With proper placement, in-ceiling speakers provide a nicely allotted sound throughout your area.
- Customizable setup: Whether you are installing two audio systems for a small room or 10 in-ceiling speakers for a domestic theatre, the system may be tailored to your desires.
Now, let’s get into the step-by-step setup manner.
Step 1: Plan Your Setup
Proper planning is crucial for a hit setup. Follow these substeps:
Determine Speaker Placement
- Room Layout: Map out the regions where you need to put in the audio system. For a bigger area or a home theatre, 10 in-ceiling audio systems may be strategically positioned for the most suitable sound distribution.
- Purpose of Use: If the gadget is for surround sound, recollect positions for the front, rear, and facet channels. For ambient tunes, spread the speakers flippantly during the distance.
- Avoid Obstacles: Ensure there are no obstructions like ductwork, mild furnishings, or plumbing in your deliberate places.
Choose the Right Speakers
Look for in-ceiling audio systems that match your space and requirements. Some factors to recollect include:
- Speaker size: Common sizes are 6.5” or 8”. Larger areas might benefit from large audio systems.
- Power score: Ensure the audio system suits the output functionality of your amplifier or receiver.
- Moisture resistance: If installing in bathrooms or kitchens, pick moisture-resistant models.
Step 2: Gather Tools and Materials
You’ll need the following equipment and substances:
- Speakers: Ensure you’ve got all 10 in-ceiling speakers if that’s your plan.
- Speaker cord: Use brilliant, CL-rated wire for in-wall or in-ceiling installations.
- Amplifier/Receiver: Check compatibility together with your speakers and the range of channels required.
- Tools:
- Stud finder
- Drywall noticed or hole cutter
- Measuring tape
- Pencil
- Wire stripper
- Drill and bits
- Fish tape or twine puller
- Mounting templates: Usually supplied along with your audio system.
Step 3: Mark the Speaker’s Locations
- Use a Template: Most in-ceiling audio systems come with a cardboard template. Tape it to the ceiling where you need each speaker.
- Trace the Cutout: Use a pencil to outline the cutout location on the ceiling.
- Check for Obstacles: Use a stud finder to locate joists or different obstructions. If barriers are detected, modify the placement barely.
Step 4: Cut the Speaker Holes
Cutting into your ceiling can be daunting; however, following those guidelines can make it possible:
- Drill a Pilot Hole: Drill a small hole in the middle of your traced outline. Use a dishonest coat hanger or similar tool to test for barriers in the ceiling.
- Use the drywall saw: Carefully reduce alongside the outline the usage of a drywall saw or a hole cutter. Keep the cuts easy and within the traces.
Step 5: Run the Wiring
Running speaker wire is one of the more time-in-depth components of the method. Here’s a way to do it:
Plan Your Wiring Route
- Run wires out of your amplifier/receiver region to each speaker.
- For a 10-in-ceiling speaker setup, make sure you label each wire to avoid confusion throughout the connection.
Fish the Wire
- Use fish tape or a wire puller to guide the twine through walls and ceilings.
- Secure the cord with cable clips to save it from sagging or tangling within the ceiling.
Strip and Prepare the Wires
- Strip about half an inch of insulation from each end of the wire.
- Connect the wires in your amplifier/receiver following the producer’s commands.
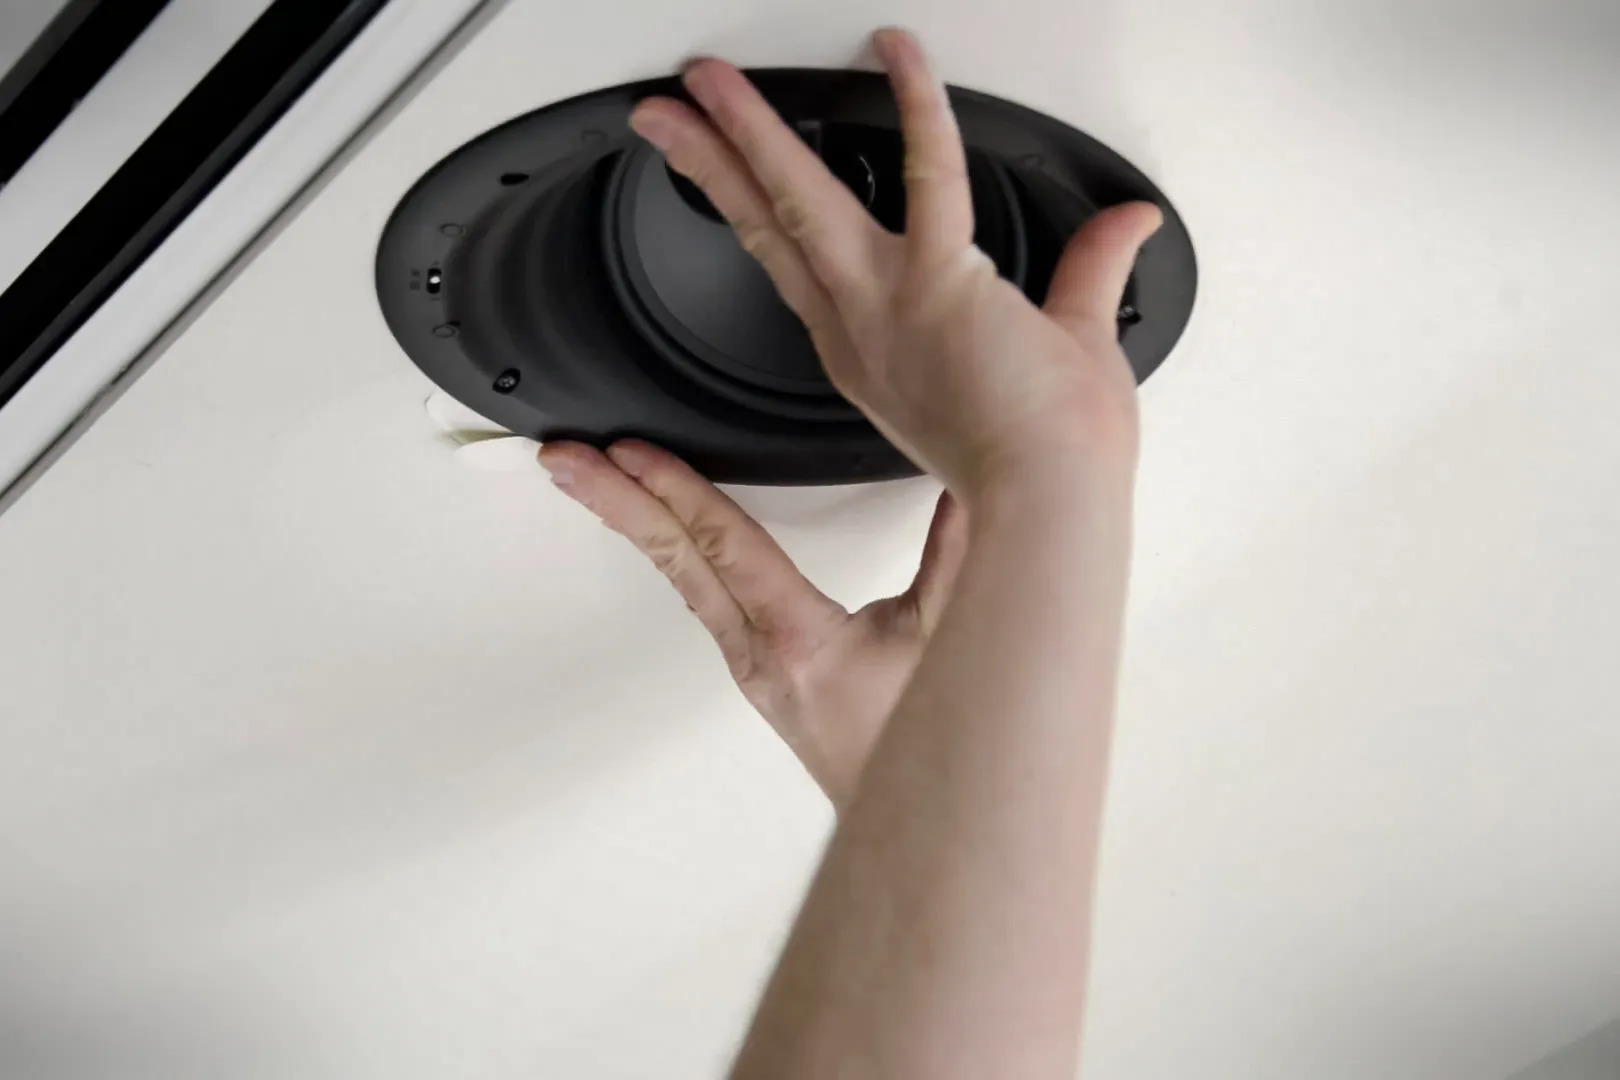
Step 6: Install the Speakers
With the wiring in place, it’s time to install your speakers.
Connect the Wires
- Match the nice and terrible terminals on the speaker to the corresponding wires.
- Secure the connections tightly to save you sign loss.
Mount the Speakers
- Insert the speaker into the hollow and tighten the mounting clamps. The clamps will grip the drywall, securing the speaker in place.
Step 7: Test the System
Before you seal the entirety up, test your audio machine:
- Play Audio: Turn on your receiver and play audio to check every speaker.
- Check Connections: Ensure all audio systems are functioning and successfully balanced.
- Adjust Settings: Use your receiver’s settings to first-rate-track quantity and sound ranges for every speaker.
Step 8: Finalize the Installation
Once satisfied with the setup:
- Attach the speaker grills. Many contemporary grills are magnetic, making them easy to install.
- Clean up any dirt or particles from the installation method.
Tips for Installing a 10-In-Ceiling Speaker Setup
- Use a Multi-Zone Receiver: For a big machine, a multi-area receiver lets you manipulate exclusive areas independently.
- Balance Sound Levels: Ensure every speaker is well-balanced for a cohesive sound experience.
- Consider Professional Help: If running wires via partitions and ceilings appears difficult, don’t forget to hire an expert installer.
Maintenance and Troubleshooting
To preserve your in-ceiling speakers in a pinnacle situation:
- Clean Regularly: Dust the grilles on occasion to preserve audio clarity.
- Check Connections: Periodically check out the wiring and terminals for wear or free connections.
- Update Your System: If technology evolves, you can combine clever structures or Wi-Fi talents.
Why choose 10 in-ceiling speakers?
A 10-in-ceiling speaker device is perfect for massive areas or creating a cinema-like experience at home. Here’s why it is probably the proper choice for you:
- Enhanced Coverage: A 10-speaker gadget ensures constant audio pleasantness across a large vicinity.
- Immersive Experience: Perfect for Dolby Atmos setups or high-constancy multi-room audio.
- Scalability: Start with fewer audio systems and expand to a complete 10-speaker machine as wished.
Conclusion
Installing in-ceiling speakers is a worthwhile DIY assignment that transforms your audio experience even while retaining your house’s aesthetic enchantment. With this step-by-step manual, you may optimistically install your system, whether it’s a couple of history tunes or full 10 in ceiling speakers layout for an immersive soundscape.
Take the plunge, observe these steps, and enjoy the terrific sound of your new in-ceiling audio system!