There are various reasons to import an OST file into an Outlook profile or account. By following this tutorial’s step-by-step instructions, you can accurately and completely import an OST file into Outlook.
Outlook stores all of your e-mail correspondence in an Offline Storage Table (OST), which is another term for an Offline Folder file, regardless of whether you use Microsoft 365 (Office365), Exchange, or IMAP to log in. With an OST file, users can work offline. Afterwards
any changes made while offline are synchronized with the mailbox server upon connection restoration.
Regretfully, Microsoft Outlook does not support the OST import capability natively. As a result, you cannot import an OST file directly into Outlook. You will learn how to relocate an OST file in Outlook step-by-step from this post.
Reasons to Include an OST File in an Outlook
Many factors may influence your decision to import an OST file into Outlook. A few of the most popular ones include…
• Corrupt OST file repair;
• Exchange Server downtime;
• data transfer between computers;
• Exchange Server maintenance
Techniques for Adding an OST File to an Outlook
This article explains how to import an OST file into Outlook.
1. Make the OST file into a PST
Outlook cannot import an OST file directly. Therefore, it needs to be converted into a PST file that can be imported into Outlook. Depending on the situation, you can apply any of the following methods for this.
Method 1. The Outlook Import Export Wizard
You can utilize this method after you have access to your Outlook account. The actions to take are as follows:
1. When you run Microsoft Outlook, use the top menu bar to select File.
2. From the menu dropdown, select Open & Export.
3. In the window that pops up, select the Import/Export option.
4. Click next after choosing Export to a file.
5. After choosing Outlook Data File (*.pst) from the export options list, click Next.
6. Select the folders you want to convert by finding them and clicking the Next button.
7. Press the Finish button after deciding where to keep the PST file.
Method 2: Make use of the DataVare OST to PST Converter program.
If the OST file becomes unreadable or orphaned, use an DataVare OST to PST Converter program. With the program, you can also convert any backup OST file you have. Outlook may produce OST files in any version, which the program can fully convert into PST format. The original structure of encrypted OST files can be preserved during conversion by the application.
Steps to convert OST to PST Converter
- The DataVare OST To PST Converter Tool can be downloaded and installed on your computer.

- Next, browse Outlook OST files or folders to the tool.

- It will then scan your system and display previews of the OST files you’ve chosen.
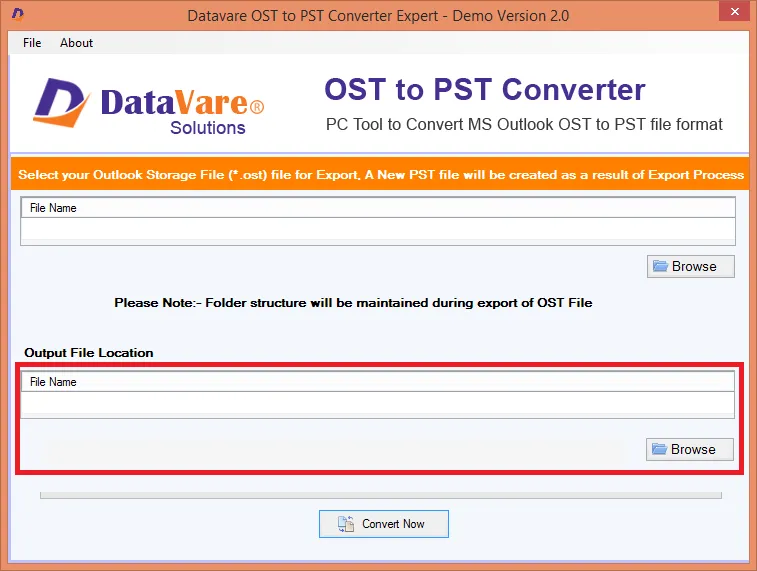
- Finally, select PST files from the export options and the destination path where you want to save the resulting PST files.
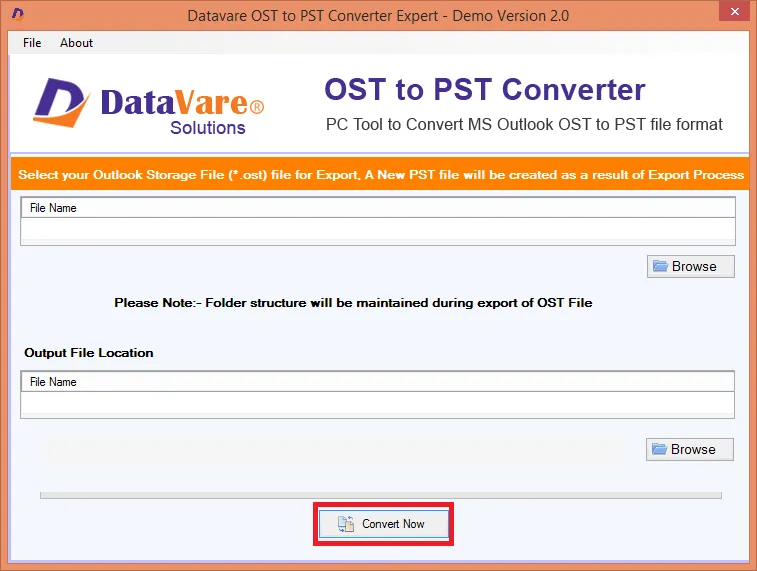
- To begin the conversion process, select the Convert Now option at the conclusion.
Read More:- Convert OST to PDF converter
Final Words!
An OST file must first be converted to a PST file in order to be imported into Outlook. Either manually or with the aid of complex OST to PST conversion tools—such as DataVare OST to PST Converter—which is the subject of this article, this can be completed. This process is streamlined by the application, which also makes it possible to convert OST files that are inaccessible or orphaned.