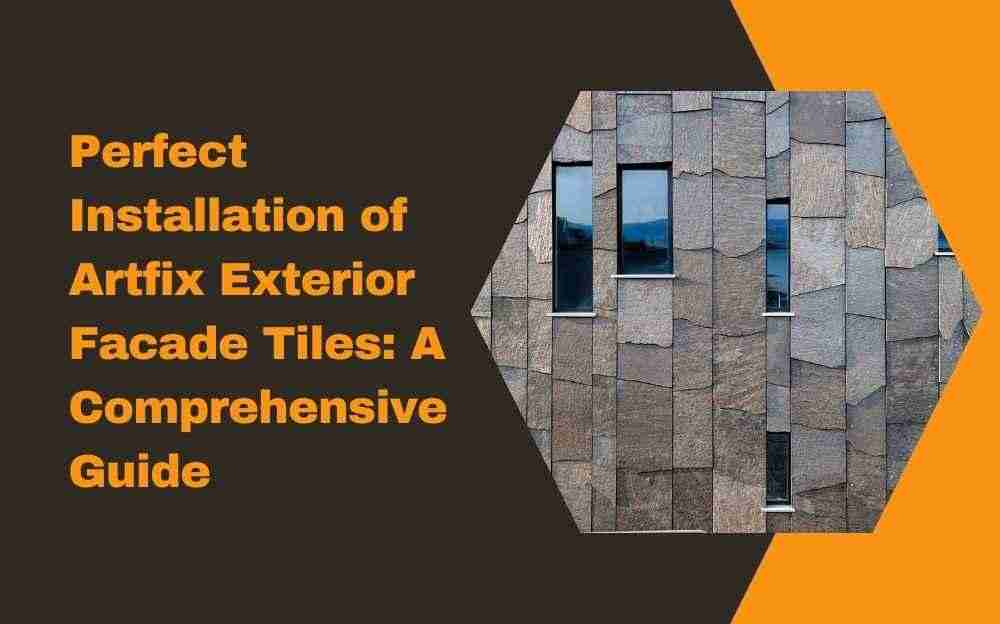
Introduction
The installation of exterior facade tiles demands precision, attention to detail, and an understanding of the materials involved. As the face of the building, the facade plays a crucial role in defining its aesthetic appeal and structural integrity. In this guide, we explore the best practices for fixing exterior facade tiles, with a focus on the exceptional offerings by Artfix.
Preparing for Installation: Essential Steps
Before embarking on the installation process, thorough preparation is essential to ensure a successful outcome. Begin by assessing the substrate to ensure it is clean, dry, and structurally sound. Any defects or irregularities should be addressed before proceeding. Next, familiarize yourself with the specific requirements of the Artfix tiles you will be installing, including recommended adhesives, grouts, and installation techniques.
Gathering the Necessary Tools and Materials
To execute the installation effectively, gather all the tools and materials required for the job. This typically includes tile adhesive, grout, spacers, trowels, a level, a rubber mallet, and safety equipment such as gloves and goggles. Ensure that you have an adequate supply of Artfix tiles, allowing for any cutting or adjustments that may be necessary during the installation process.
Planning the Layout
Careful planning of the tile layout is essential to achieve a visually pleasing result. Consider factors such as the size and shape of the tiles, the pattern to be used, and any architectural features or obstructions that may affect the installation. Dry-lay the tiles on the substrate to test different layout options and make any necessary adjustments before proceeding with the adhesive.
Perfect Installation of Artfix Exterior Facade Tiles: A Comprehensive Guide
Mastering the Installation Process
With thorough preparation complete, it’s time to begin the installation of Artfix exterior facade tiles. Follow these step-by-step instructions to ensure a flawless result.
Applying the Adhesive
Start by applying a thin layer of tile adhesive to the substrate using a trowel, ensuring complete coverage. Use the notched side of the trowel to create grooves in the adhesive, which will facilitate proper adhesion of the tiles. Work in small sections, as the adhesive may begin to dry quickly.
Setting the Tiles
Carefully place each Artfix tile onto the adhesive, using spacers to maintain consistent spacing between tiles. Press firmly on each tile to ensure good contact with the adhesive and eliminate any air pockets. Use a level to check that the tiles are aligned correctly and make adjustments as necessary. Continue this process, working methodically across the facade until all tiles are installed.
Grouting and Finishing
Once the adhesive has cured, typically after 24 to 48 hours, it’s time to grout the joints between the tiles. Mix the grout according to the manufacturer’s instructions and apply it evenly using a grout float, ensuring that the joints are completely filled. Use a damp sponge to remove any excess grout from the tile surfaces, taking care not to disturb the grout in the joints. Allow the grout to cure fully before cleaning the tiles and applying any necessary sealant.
Ensuring Long-Term Durability and Maintenance
Proper installation is crucial for the long-term performance of exterior facade tiles. To maximize durability and minimize maintenance requirements, follow these additional tips:
- Ensure that the substrate is properly waterproofed to prevent moisture infiltration, which can lead to damage and deterioration of the tiles.
- Use high-quality sealant to protect the tiles from staining, discoloration, and weathering, particularly in outdoor applications.
- Regularly inspect the facade for any signs of damage or deterioration, such as cracked or loose tiles, and address any issues promptly to prevent further damage.
By following these guidelines and leveraging the superior quality and craftsmanship of Artfix exterior facade tiles, you can achieve a flawless installation that enhances the beauty, durability, and longevity of your building’s facade. Whether you’re undertaking a new construction project or renovating an existing structure, Artfix offers the perfect solution for creating stunning and durable exterior surfaces that stand the test of time.
conclusion
In conclusion, mastering the art of fixing exterior facade tiles is a meticulous process that requires careful planning, precise execution, and attention to detail. By following the best practices outlined in this guide and utilizing the exceptional offerings by Artfix, you can achieve a flawless installation that enhances the beauty, durability, and structural integrity of your building’s facade.
From thorough preparation and layout planning to precise application of adhesive and grout, each step plays a crucial role in ensuring a successful outcome. Artfix’s commitment to quality and innovation shines through in their range of exterior facade tiles, offering architects, designers, and builders the perfect blend of aesthetics, functionality, and durability.
By investing in Artfix exterior facade tiles and adhering to proper installation techniques, you can create stunning and long-lasting exterior surfaces that leave a lasting impression. Whether you’re embarking on a new construction project or renovating an existing structure, Artfix provides the ideal solution for transforming your vision into reality.
In the ever-evolving world of architecture and construction, Artfix remains a trusted partner, offering innovative solutions that push the boundaries of design and performance. With Artfix, you can elevate your building’s facade to new heights of beauty, durability, and sustainability, ensuring that it stands the test of time and leaves a lasting legacy for generations to come.
Note :- To Read More Articles Visit on- freebiznetwork